How To Get A Moving Background On Power Point
There are hundreds of different ways motion backgrounds can be used, but one of the most common is in power point presentations. So, this begs the question, how exactly does a motion background get added to a power point presentation. The process is simple and with just a few clicks, it can be done with ease.
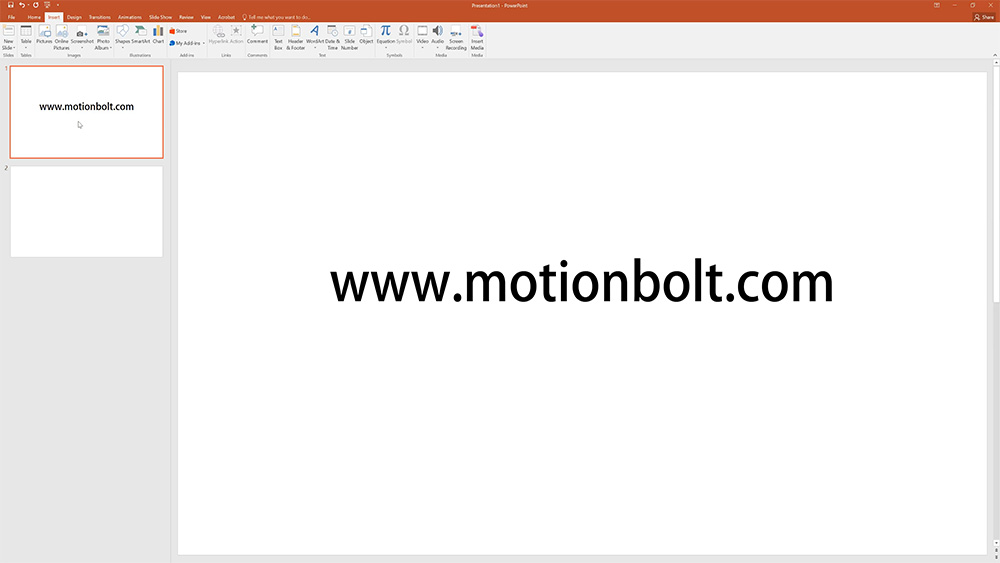
To start the process, open Microsoft Power Point and add a new slide.
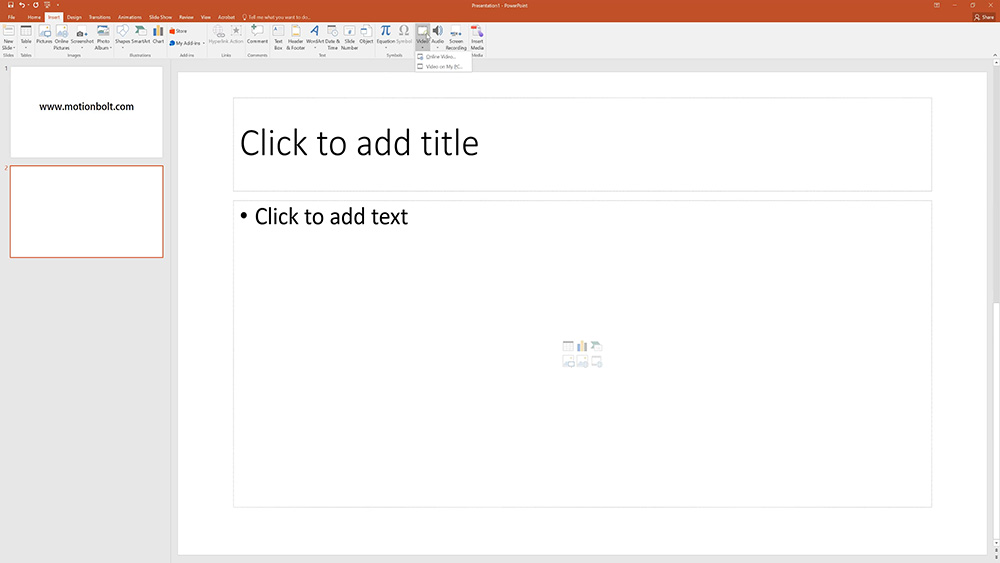
Next, navigate over to the menu and click on Video. A drop down menu with two options will appear.
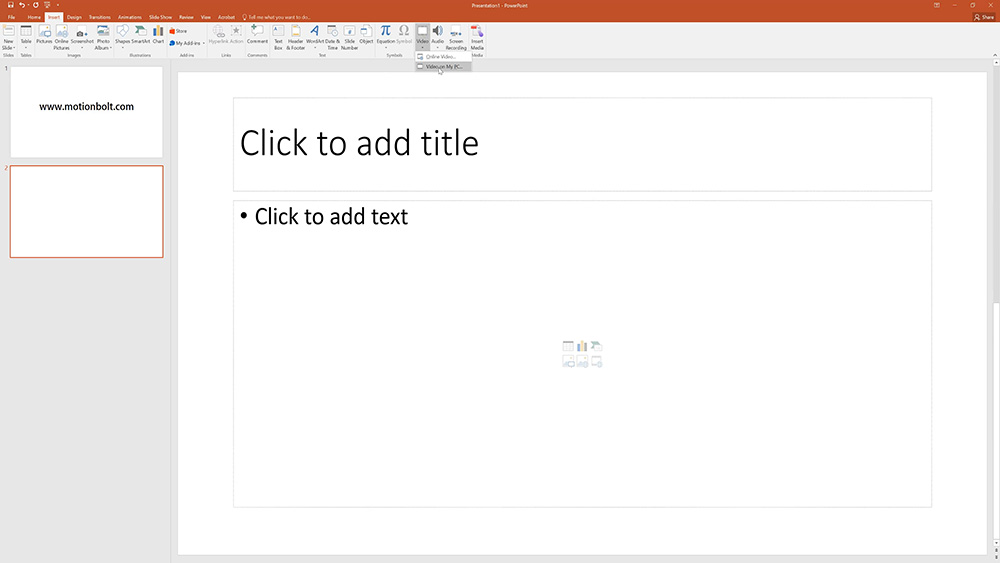
Select the “Video From my PC” option. This will open a dialogue box from where the video can be navigated to, in order to be selected.
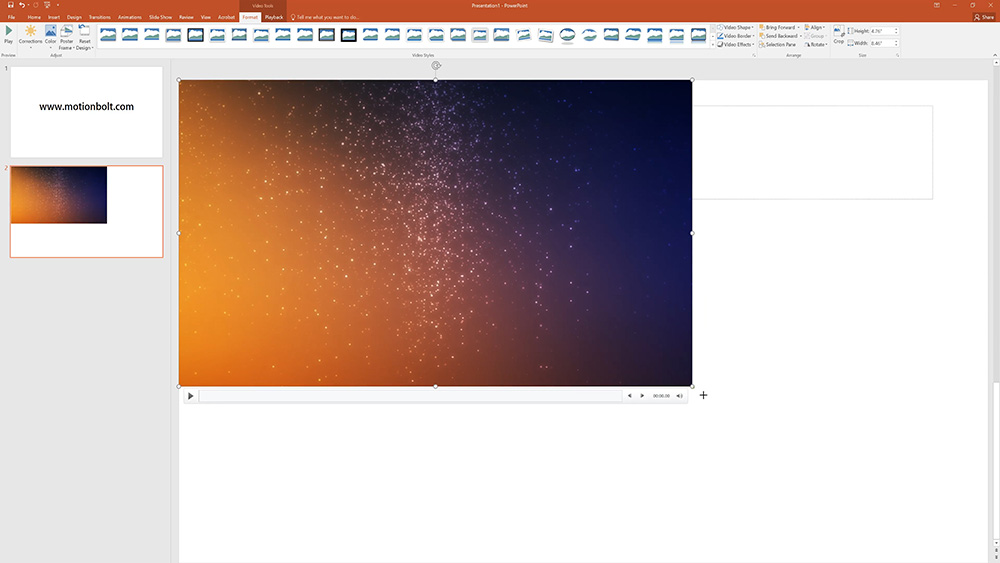
The motion background is inherently added to the presentation in the top left corner of the slide, but it doesn’t cover the whole slide.
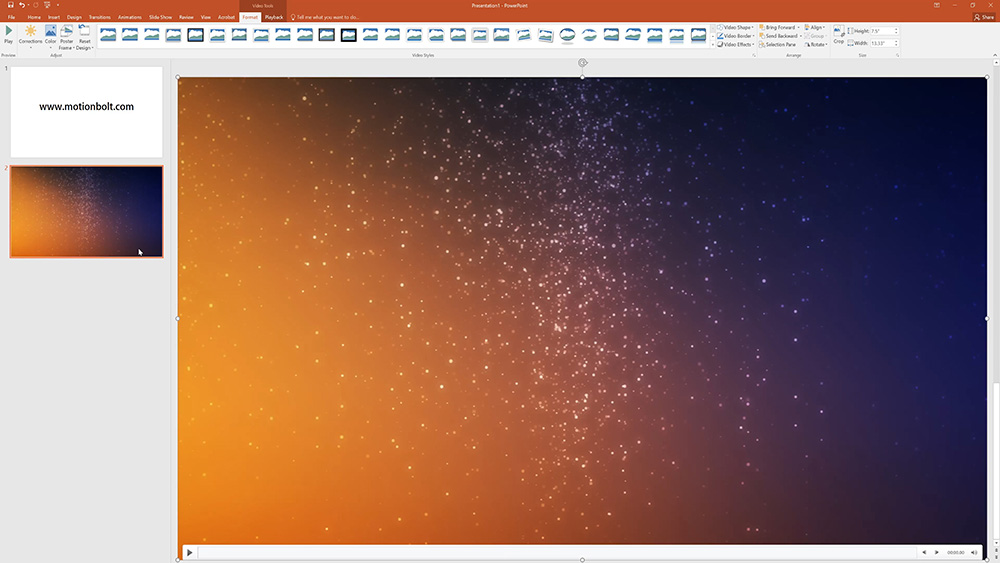
To fix this, click the video and grab the bottom right corner. The video will scale proportionately and with the left mouse button held down, drag the video until it fills the whole slide.
Essentially, that is all there is to adding a motion background to a power point presentation, but there are also a few best practices to keep in mind.
- If you want to set the video to auto play when the slide is clicked on, be sure to check the setting of the video by right-clicking the video slide. It can be set to manual or automatic.
- If you are going to have text on top of your animated background, be sure to choose a text color that compliments not only the background, but is also visible and easy to read.
- Finally, be sure to save your motion background in the same folder as your powerpoint presentation to be sure it stays connected. If you upload your presentation and email without attaching the video, it will have a broken connection. Zip up both the presentation and all the video files by selecting them all and then sending them to a new zip folder.



thank u so so so much … i was looking to find out about this issue .
you write it very easy and put picture to make it more easier !
you are an angel :)
i used it in مشاوره پیش از ازدواج page to make it more comfortable .
thanks thanks thanks